
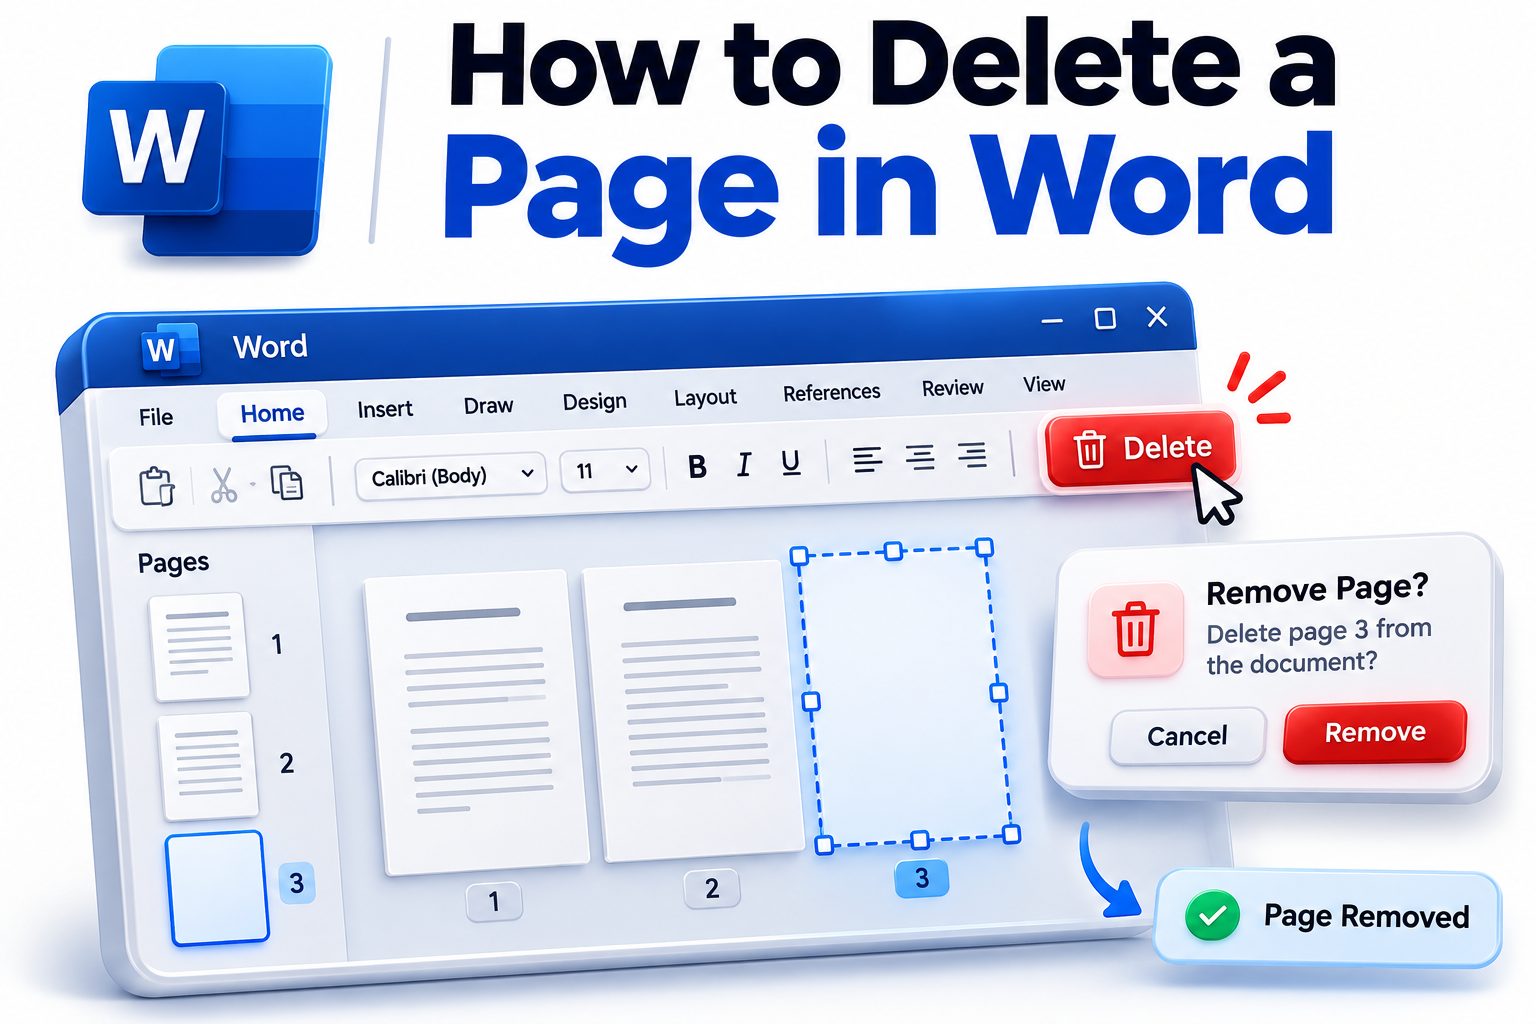
Deleting a page in Microsoft Word sounds simple until the page refuses to disappear. The reason is that Word does not treat a page as a separate object in the same way that presentation software treats a slide. A Word page exists because text, images, tables, paragraph marks, page breaks, or section breaks are creating enough content or spacing to fill it.
Learning how to delete a page in Word therefore starts with identifying what is on that page. A page containing text can usually be removed by selecting its contents and pressing Delete or Backspace. A blank page may require you to remove hidden paragraph marks, a manual page break, or a section break instead.
This article covers the fastest deletion method, reliable keyboard techniques, blank-page fixes, and instructions for Word on Windows, Mac, and the web. It also explains how to handle stubborn pages caused by tables, headers, formatting, and section settings without accidentally changing the rest of your document.
Delete a Page Containing Text or Images
A page with visible content is usually the easiest type to remove. Select everything on the unwanted page, including text, pictures, tables, and empty paragraphs. Press Delete on Windows or Mac. You can also place the cursor after the final item and press Backspace until the page disappears.
Be careful when the page begins or ends near a section break. Selecting beyond the visible content may remove formatting instructions used by surrounding pages. After deleting the page, check nearby headers, footers, margins, page orientation, and numbering to confirm that the document still looks correct.
Use the Navigation Pane to Find the Page
Long documents are easier to manage with Word’s Navigation Pane. In desktop versions of Word, open the View tab and enable Navigation Pane. Select Pages in the pane, then click the thumbnail of the page you want to inspect. This moves the cursor without requiring extensive scrolling.
The page thumbnails help you locate unwanted content, but they do not work like slide thumbnails in PowerPoint. Clicking a thumbnail does not select the entire page, and pressing Delete will not automatically remove it. You must still select the page’s contents or delete the formatting mark creating it.
Quick Page Deletion Steps
1. Click anywhere on the page you want to remove.
2. Press Ctrl+G in Word for Windows or Option+Command+G in many Word for Mac versions to open the Go To tool.
3. Select Page if Word displays a list of targets.
4. Type \page in the page number field.
5. Press Enter or choose Go To, then close the dialog box.
6. Confirm that Word has selected the page’s content.
7. Press Delete.
The \page command selects the content associated with the current page. Review the selection before deleting it, especially when the page contains a section break or begins with content carried over from the preceding page.
Remove a Blank Page in Word
Blank pages are rarely truly empty. A hidden paragraph mark, page break, section break, or table-ending paragraph is usually occupying the page. Turning on formatting marks reveals the item responsible and makes the correct fix much easier to identify.
Select the Home tab and click the Show/Hide button, represented by the paragraph symbol ¶. On Windows, you can often use Ctrl+Shift+8. On a Mac, Command+8 commonly toggles formatting marks. These marks do not print and can be hidden again after editing.
Delete Empty Paragraph Marks
Repeated paragraph marks are a common cause of blank pages. With formatting marks visible, look for several ¶ symbols on the unwanted page. Select only the unnecessary marks and press Delete or Backspace. The blank page should collapse as the extra spacing is removed.
Do not remove paragraph marks indiscriminately. Each mark stores formatting such as alignment, indentation, spacing, and style information. Removing one between legitimate paragraphs can merge their formatting. Delete only the marks that clearly create unused space or occupy the otherwise blank page.
Remove a Manual Page Break
A manual page break forces everything after it to begin on a new page. With Show/Hide enabled, it appears as a line labeled “Page Break.” Click directly before the break and press Delete, or select the labeled break and remove it.
Once the break is gone, the following content moves upward. If the next section still needs to start on a new page, consider whether the paragraph’s “Page break before” setting is more appropriate. That setting keeps the layout tied to the heading rather than to a separately inserted break.
Check the Cause Before Deleting
Use this quick checklist when Word shows an unwanted blank
- Turn on the Show/Hide formatting marks.
- Look for repeated empty paragraph marks.
- Check for a labeled manual page break.
- Identify any Next Page, Odd Page, or Even Page section break.
- Inspect the paragraph immediately after the blank page.
- Check whether the previous page ends with a table.
- Review paragraph spacing and “Page break before” settings.
- Save a copy before removing a section break from a complex document.
Fix a Blank Final Page After a Table
Word requires a paragraph mark after every table. When a table reaches the bottom of the final intended page, the required paragraph may spill onto a new page. Because Word will not let you delete that final paragraph mark, the extra page can seem impossible to remove.
The practical solution is to make the final paragraph small enough to fit after the table. Turn on formatting marks, select the paragraph symbol below the table, and set its font size to 1 point. If necessary, also set its spacing before and after to zero.
Adjust the Final Paragraph
Open the paragraph settings for the mark after the table. Set line spacing to Exactly and choose a very small value, such as 1 point. This reduces the space consumed by the required paragraph without deleting it or changing the contents of the table.
Another option is to select the final paragraph mark and mark it as hidden through the Font dialog. Hidden text must be configured not to print. Reducing the paragraph to 1 point is generally more predictable because the mark remains present and its layout effect is easy to inspect.
Reduce Table or Page Spacing Carefully
If the extra page remains, the table itself may fill every available line. Slightly reduce paragraph spacing inside the table, decrease row height, or adjust the bottom page margin. A small change is often enough to bring the final paragraph onto the preceding page.
Avoid shrinking the entire document or using extremely narrow margins solely to remove one blank page. Such changes can affect readability, printing, and page count elsewhere. Start with the final paragraph, then make the smallest table or margin adjustment needed.
Remove Page Breaks and Section Breaks Safely
Page breaks control where a new page starts, while section breaks divide a document into areas that can use different formatting. Both can create apparent blank pages, but deleting a section break can have broader consequences than removing a standard page break.
With formatting marks enabled, Word labels the break and often identifies its type. A simple “Page Break” can usually be deleted directly. A “Section Break” deserves closer inspection because it may control headers, footers, columns, margins, orientation, or page numbering.
Recognize Section Break Types
A Next Page section break starts the new section on the following page. Continuous creates a new section without intentionally starting a new page. Odd Page and Even Page breaks move the next section to the next qualifying odd- or even-numbered page.
Odd Page and Even Page breaks may produce a blank page by design. For example, a chapter configured to begin on an odd-numbered page may cause Word to insert a blank even page before it. The page may appear differently in editing view, Print Preview, and the printed document.
Preserve Formatting Before Removing a Break
When you delete a section break, Word generally combines the sections and applies formatting from the section that followed the break. This can unexpectedly alter the earlier section’s layout. Headers, footers, numbering, columns, or page orientation may change immediately.
Before deleting the break, record the settings on both sides. If you only want to eliminate a blank page, changing the break from Next Page to Continuous may be safer. Open the Layout settings, locate the section start option, and choose Continuous where the document structure permits it.
Page Break and Section Break Comparison
Break type | What it does | Safe response
Page Break | Starts the following content on a new page | Delete it when a forced new page is unnecessary
Next Page Section Break | Starts a new formatting section on the next page | Convert to Continuous or preserve formatting before deletion
Continuous Section Break | Starts a new section on the same page | Keep it if different formatting is required
Odd Page Section Break | Starts the section on the next odd-numbered page | Expect a possible blank even page
Even Page Section Break | Starts the section on the next even-numbered page | Expect a possible blank odd page
Delete a Specific Page Using Go To
The Go To method is useful when a document contains many pages and you know exactly which one must be removed. It avoids dragging a selection across multiple paragraphs, which can be imprecise when the page includes images, tables, or mixed formatting.
Press Ctrl+G in Word for Windows, enter the target page number, and press Enter. Close the dialog, then use the \page command if you want Word to select the current page. Verify the highlighted content and press Delete only after confirming the selection.
Understand What Word Selects
Word calculates pages dynamically according to paper size, margins, fonts, paragraph spacing, printer settings, and content. The \page command selects the content Word currently associates with that page. A later formatting change can shift the same content to a different page number.
The selection may include a break at the bottom of the page. Removing that break can affect where the next page begins. If your goal is to delete only text while keeping the following material on a fresh page, recreate the page break after deleting the selected content.
Delete Several Pages at Once
For consecutive pages, place the cursor at the beginning of the first page. Hold Shift and click at the end of the last page to select the range, then press Delete. This is often faster than removing each page separately.
Another precise method uses the Go To tool to reach the starting page, followed by a Shift-click at the end of the desired range. In documents with section breaks, inspect formatting marks first. A multi-page selection can easily capture structural breaks that control later sections.
Delete Pages in Word for Windows
Word for Windows offers the full set of page-removal tools, including the Navigation Pane, Go To commands, formatting marks, and detailed section settings. For a normal content page, the \page selection method is usually the fastest. For a blank page, Show/Hide provides the clearest diagnosis.
The Backspace and Delete keys behave differently based on cursor position. Backspace removes content before the cursor, while Delete removes content after it. Place the cursor before a visible break and press Delete, or immediately after it and press Backspace.
Delete Pages in Word for Mac
The same underlying rules apply in Word for Mac, though shortcuts and menu locations can vary slightly by version. Use Command+8 to display paragraph marks in many releases. You can also select the paragraph symbol from the Home tab when keyboard shortcuts differ.
For visible content, select the entire page and press Delete. For navigation, use Word’s Go To feature from the Edit or Find menus, depending on the release. When removing section breaks, check the Layout tab afterward to make sure orientation, headers, and numbering remain intact.
Platform Shortcut Reference
Task | Word for Windows | Word for Mac
Show or hide formatting marks | Ctrl+Shift+8 | Command+8
Open Go To | Ctrl+G | Option+Command+G in many versions
Remove content before cursor | Backspace | Delete
Remove content after cursor | Delete | Fn+Delete on compact
Open Navigation Pane | View, then Navigation Pane | View,
Mac keyboard layouts differ, particularly on laptops. If a shortcut does not work, use the equivalent ribbon or menu command rather than assuming the feature is unavailable.
Delete a Page in Word for the Web
Word for the web can remove normal text, images, empty paragraphs, and many manual page breaks. Select visible content and press Backspace or Delete. You can also enable formatting marks from the Home tab to find paragraph marks causing a blank page.
Some advanced section formatting is easier to manage in the desktop application. If the web version will not expose or safely modify the responsible break, choose Open in Desktop App. Make the change there, save the document, and allow it to synchronize back to your online file.
Account for Editing and Reading Views
Page boundaries can appear differently depending on the view. Editing view may show content continuously, while Print Layout or Print Preview reveals actual printed pages more clearly. A blank page visible during editing may not always appear in the final printed output.
Before spending time deleting a suspicious page, open Print Preview or export a test PDF. This confirms whether the page is part of the document’s output or only an editing-view artifact. For related layout controls, see [Internal Link: How to Add Page Numbers in Word].
Troubleshoot a Page That Will Not Delete
When a page remains after its visible text is removed, enable formatting marks and inspect the area immediately before and after it. The cause may sit on the preceding page, especially when a page break, large paragraph spacing value, or table pushes a mark forward.
Select the final visible paragraph before the blank page and open its paragraph settings. Review spacing after, line spacing, “Keep with next,” “Keep lines together,” and “Page break before.” These options can move text even when no manual break appears.
Check Paragraph Pagination Settings
“Keep with next” prevents a paragraph from separating from the paragraph that follows it. It is useful for keeping headings with body text, but several linked paragraphs can move together and leave unusual gaps. “Keep lines together” prevents a paragraph from splitting across pages.
“Page break before” automatically starts the selected paragraph on a new page. Unlike a manual page break, it belongs to the paragraph’s formatting. Clear the option through the Paragraph dialog when it is creating an unwanted page, but retain it for headings that must begin on fresh pages.
Inspect Oversized Objects and Layout Wrapping
A large image, chart, text box, or other floating object may extend beyond the printable area and push surrounding content onto another page. Select the object, reduce its size, or change its wrapping option to see whether the unwanted page disappears.
Objects anchored to paragraphs can be confusing because the anchor may remain on a different page from the visible object. Show object anchors when available and inspect nearby paragraphs. Deleting an apparently empty paragraph may also remove or relocate the object attached to it.
Common Deletion Mistakes
- Deleting a section break without checking headers, footers, or orientation.
- Pressing Backspace repeatedly without displaying hidden formatting marks.
- Assuming a Navigation Pane thumbnail can be deleted like a presentation slide.
- Shrinking all document text to fix one table-related blank page.
- Removing every empty paragraph even when some provide intentional spacing.
- Ignoring Odd Page or Even Page section settings in books and reports.
- Failing to check Print Preview before changing a page that may not print.
- Closing the document without verifying that Track Changes has recorded the deletion.
Work Safely in Documents With Track Changes
When Track Changes is enabled, deleted content may remain in the document as a recorded revision. Depending on the display mode, the unwanted page can appear to stay in place because Word is showing deleted text, markup balloons, or both.
Switch between Simple Markup, All Markup, and No Markup to see how revisions affect pagination. To remove the content permanently, accept the relevant deletion. Do this only when you are authorized to resolve revisions, since accepting changes alters the document’s review history.
Review Headers, Footers, and Page Numbers
A page can appear empty while still containing a header, footer, watermark, or page number. These elements generally do not create the page by themselves, but they can make a structural blank page more noticeable. Double-click the header or footer area to inspect section-specific settings.
Deleting a section break may connect previously separate headers and footers. Check “Link to Previous,” first-page settings, and odd/even page options after the change. If numbering changes unexpectedly, [Internal Link: How to Remove a Header in Word] may help you correct the affected section.
Protect the Original Layout
Save a copy before editing a formal report, contract, thesis, manuscript, or heavily formatted template. A backup provides a quick way to recover section layouts if deleting a break changes margins, numbering, columns, or header content across several pages.
After removing the page, review the document in Print Layout from the deletion point to the end. Pay particular attention to the first page of every later section. A quick visual check catches shifted headings, broken numbering, and changed headers before the file is shared or printed.
Best Practices for Cleaner Word Documents
Use paragraph spacing instead of pressing Enter repeatedly to create vertical space. Multiple blank paragraphs are fragile because small font, margin, or printer changes can push them onto a new page. Proper spacing settings keep the layout controlled and easier to edit.
Use built-in heading styles and “Page break before” when major chapters must start on new pages. Manual breaks are suitable for deliberate one-off transitions, but styles are more reliable in long documents. Consistent formatting also makes the Navigation Pane more useful.
Choose the Right Page Removal Method
A page containing ordinary text or pictures requires content selection and deletion. A blank page requires diagnosis. Start by displaying formatting marks, then remove empty paragraphs or a manual page break if present. Treat section breaks carefully because they control more than page position.
For a blank final page after a table, reduce the mandatory final paragraph mark to 1 point before changing margins or shrinking the table. For unexplained page movement, inspect paragraph pagination settings and floating objects. This order solves the most common causes with minimal disruption.
Do and Don’t List
Do:
- Turn on formatting marks before troubleshooting a blank page.
- Confirm the selected content before pressing Delete.
- Check Print Preview after making structural changes.
- Record section settings before removing a section break.
- Keep a backup of complex or business-critical documents.
Don’t:
- Treat a Word page as an independent slide.
- Delete section breaks without reviewing their purpose.
- use repeated blank paragraphs for page layout.
- Assume every blank page will appear when printed.
- Accept tracked deletions unless you have permission to finalize revisions.
Conclusion
The correct way to remove an unwanted Word page depends on what is creating it. For a page containing text, images, or tables, select the page’s content and press Delete. The Go To tool and \page command provide a faster selection method when the document is long.
Blank pages need a more targeted approach. Display formatting marks, then look for empty paragraphs, manual page breaks, section breaks, paragraph pagination settings, or the mandatory paragraph after a table. Reducing that final paragraph to 1 point often removes a stubborn last page without disturbing the table.
Section breaks require the most care because they can control page orientation, headers, footers, columns, and numbering. Preserve or record those settings before deleting or converting the break. Always finish by checking Print Preview and reviewing later sections.
Once you identify the content or formatting mark responsible, learning how to delete a page in Word becomes a quick, predictable task rather than a frustrating cycle of pressing Backspace.
Frequently Asked Questions
Why is my blank page not deleting in Word?
A hidden formatting element is probably creating it. Turn on Show/Hide and look for paragraph marks, page breaks, or section breaks. If a table ends the previous page, shrink the required final paragraph mark to 1 point.
Can I delete a page from the Navigation Pane?
No, the Navigation Pane only helps you locate and preview pages. Select the page thumbnail, then select the actual content in the document and press Delete. Blank pages still require removing the formatting element that creates them.
How do I delete the last blank page after a table?
Select the paragraph mark immediately after the table and change its font size to 1 point. Set paragraph spacing to zero if needed. Word requires this mark, so reducing it is usually more effective than deleting it.
Will deleting a section break change formatting?
Yes, it can. Removing a section break may alter headers, footers, margins, columns, orientation, and page numbering. Record the settings on both sides first, or change a Next Page break to Continuous when appropriate.
Why does a deleted page remain with Track Changes enabled?
Word may be displaying the deleted content as revision markup, so it can still affect what you see. Switch the markup view or accept the deletion to remove it permanently, provided you are authorized to finalize changes.